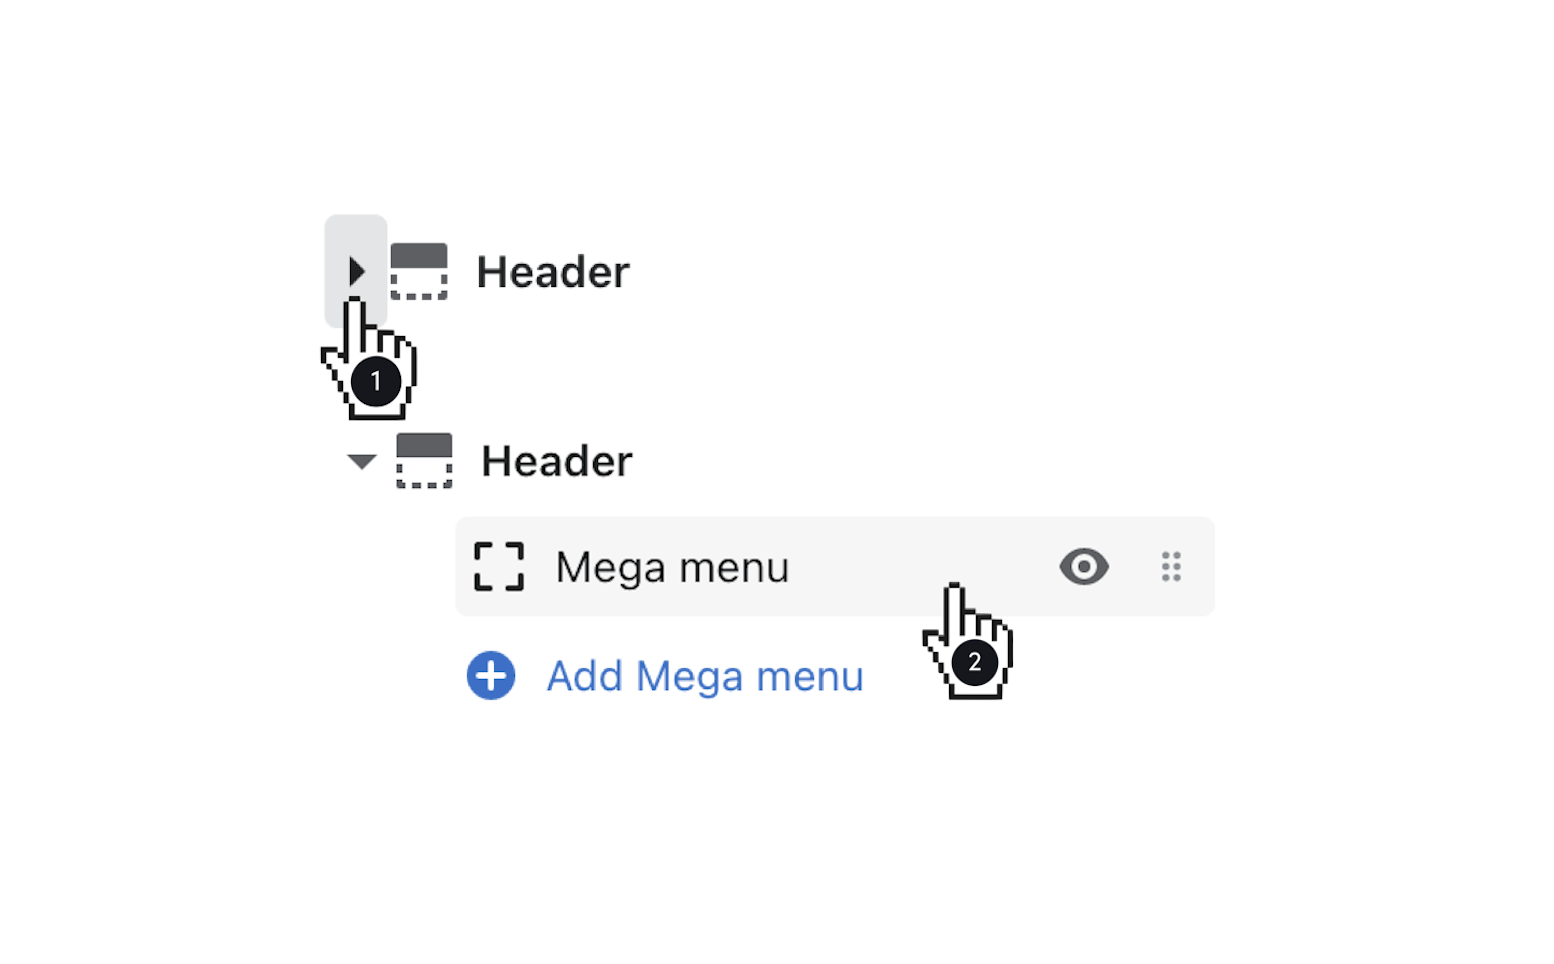
Responsive's Mega Menu is a great way to highlight categories and collections. Mega menus allow your customers to easily navigate through products and collections quickly. They are also useful if you're looking to categorize by vendor or brand.
Create a dropdown menu, then convert it into a Mega Menu and customize the feature with Content Column and Bottom Banner.
Create a Dropdown Menu
When creating a mega menu, first need to create a menu in your Navigation admin. The number of columns in your mega menu is determined by the number of menu items you wish to add.
You can have up to 10 columns in the mega menu. Build out each column by making a drop-down menu with Shopify's nested navigation.
Connect the Menu to the Mega Menu
Click to open the Mega menu section, then enter the Link title for the parent link to stem from.

For example, if you want your mega menu to appear under the Our Shop menu item, add 'our shop' to the Link title field.
Click Select menu below Mega menu to select the navigation menu to use.
Content Column
The Content Column is the area of the Mega Menu that can be customized to combine an image, link, and text.
Add a Heading using the provided field.
Click Select Image to add an 800 x 800px image.
Add Text and connect a URL using the provided fields, then select a Position for the feature (First column or Last column).
The maximum number of columns in a mega menu is 10. To enable the Content Column, make sure that your menu has fewer than 10 columns.
Bottom Banner
Enable a Bottom banner to add an announcement bar feature to the bottom of the Mega Menu.
Add Text and connect a URL, then customize the Background and Text colors.
Mobile Layout
On mobile, the Mega Menu updates to be a drop-down menu with each column updated to a drop-down menu, as well. Your content column and bottom banner will remain here as well if you have enabled them.